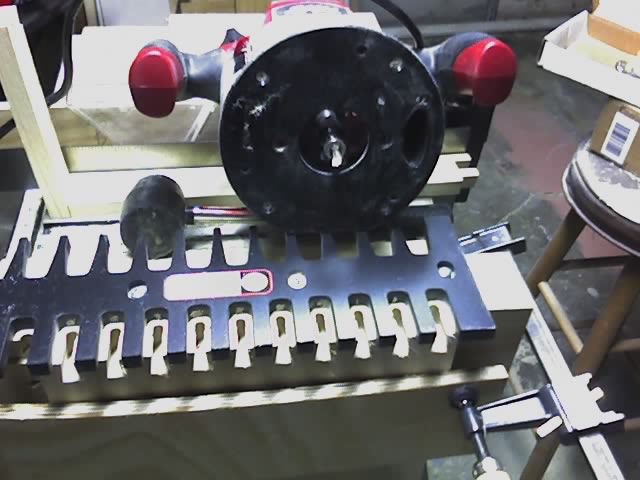
 I'm a cheater, here is my router and dovetail joint jig (KELLER). Someone once suggested getting a dovetail saw just to overcut some of the cuts to make it look home-made. Well, that would be a little excessive. I am using my table saw as a work table. I think I know why some people say that they would like a real workshop when they build a house. However, I can't complain, I really can't.
 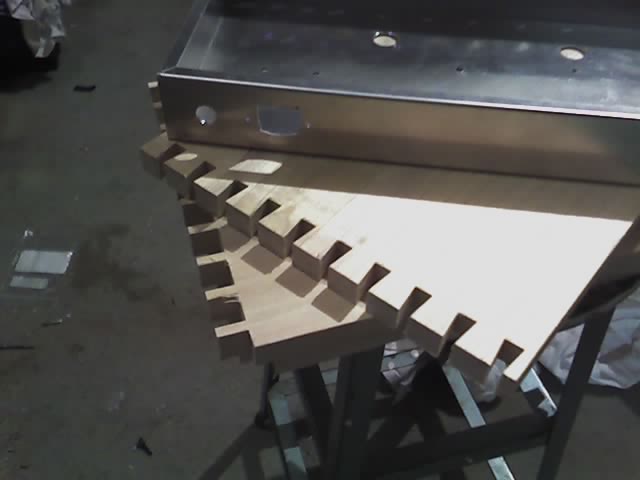 Here are the top and sides, routed for the dovetail joints. This only takes about 10-15 minutes, so it is really convenient. The joints are tight enough that I will not use any screws, or corner bracing. It frightens me a little when I put the edges together. I am always afraid I will break one of the pins.
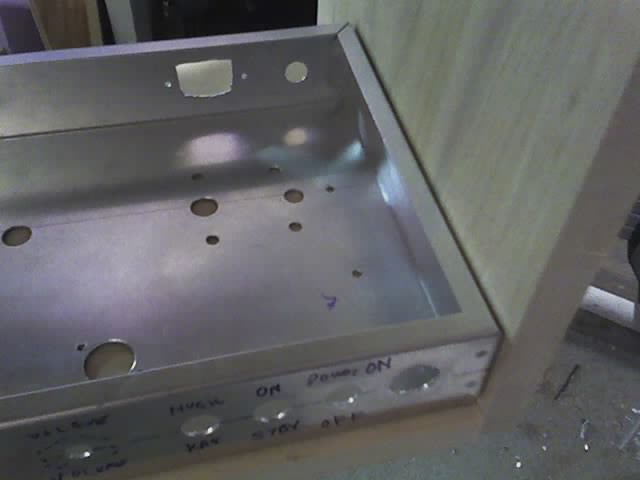 I was a little concerned about this. I cut the width of the cabinet so that I only had about 1/20th of an inch wiggle room for the chassis. Kind of a dopey thing to do, but with careful measurement and routing, this thing will fit extremely well. Add a little paint on both sides of the chassis, and some finish on the cabinet, and it will be a tight fit. The kind of tight that looks good, I hope.
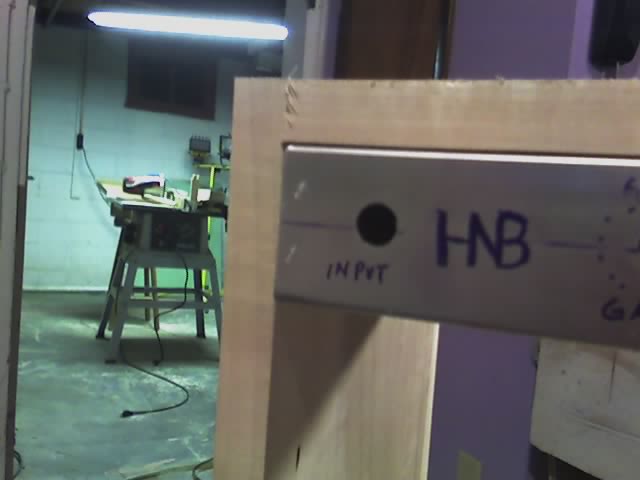 The cabinet has not been ripped yet, so you are not looking at the real edge. Still, this gives you a feeling for what the final product might look like. Remember that this project will mount the chassis upside down in the cabinet. The tubes and stuff will hang down. Come to think of it, I need to make sure that the transformers and tubes do not get in the way of the speaker. This is why some combo amps have the speaker off center. Not that it would be too noticeable, with the grille cloth and all.
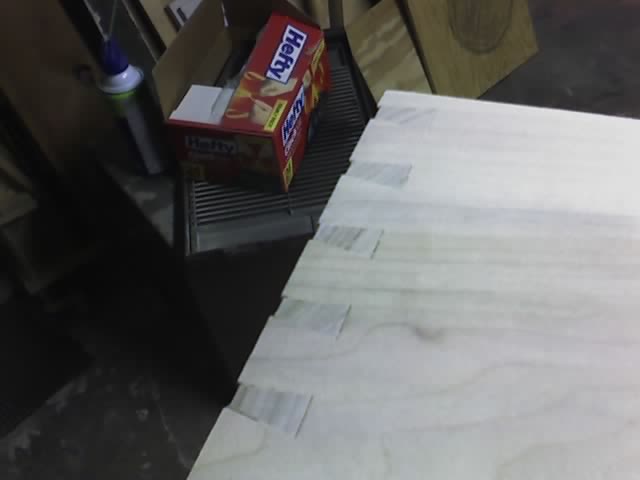 Here's a little preview of what things will look like some day. If it seems like the pins are a little long, that is because they will be sanded down. Once this thing is done, I will glue it up and then sand everything to make it nice and tidy. I like working with wood. I really, really, really like it.
The next step is to fit a shelf that the chassis will sit on. This is also how I will fasten the chassis, rather than screws poking up through the top. After that, I will route a channel to contain the speaker baffle. This hunk of 1/2" plywood that will hold the speaker is another reason why I can hold the thing together with glue only. I'll show you later.
--gh
No comments:
Post a Comment