Putting the markings on the chassis happens to be one of my favorite parts of building an amp. Of course, the H.N.B. amp is serial number 00002 (heh), so what do I know. To bring everyone up to speed, I am using
rapidograph technical drawing pens,
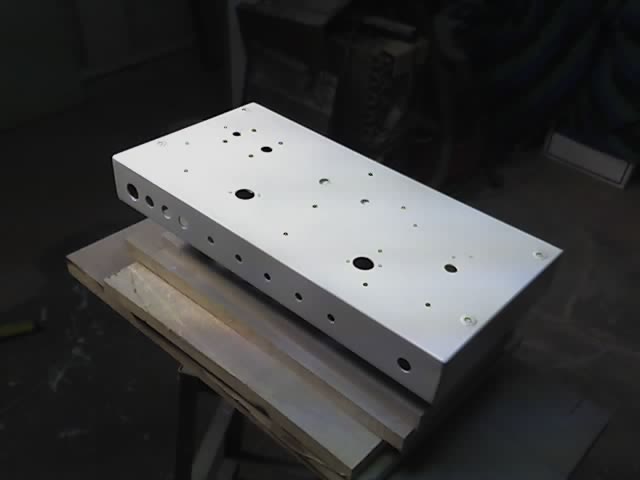
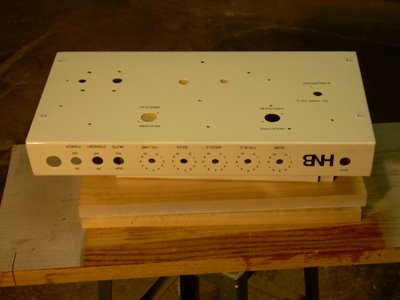
Leroy lettering sets, and good old-fashioned India ink. The chassis has been primed and then painted with a flat white canvas for me to work on.
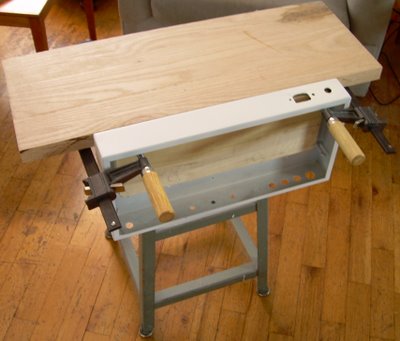
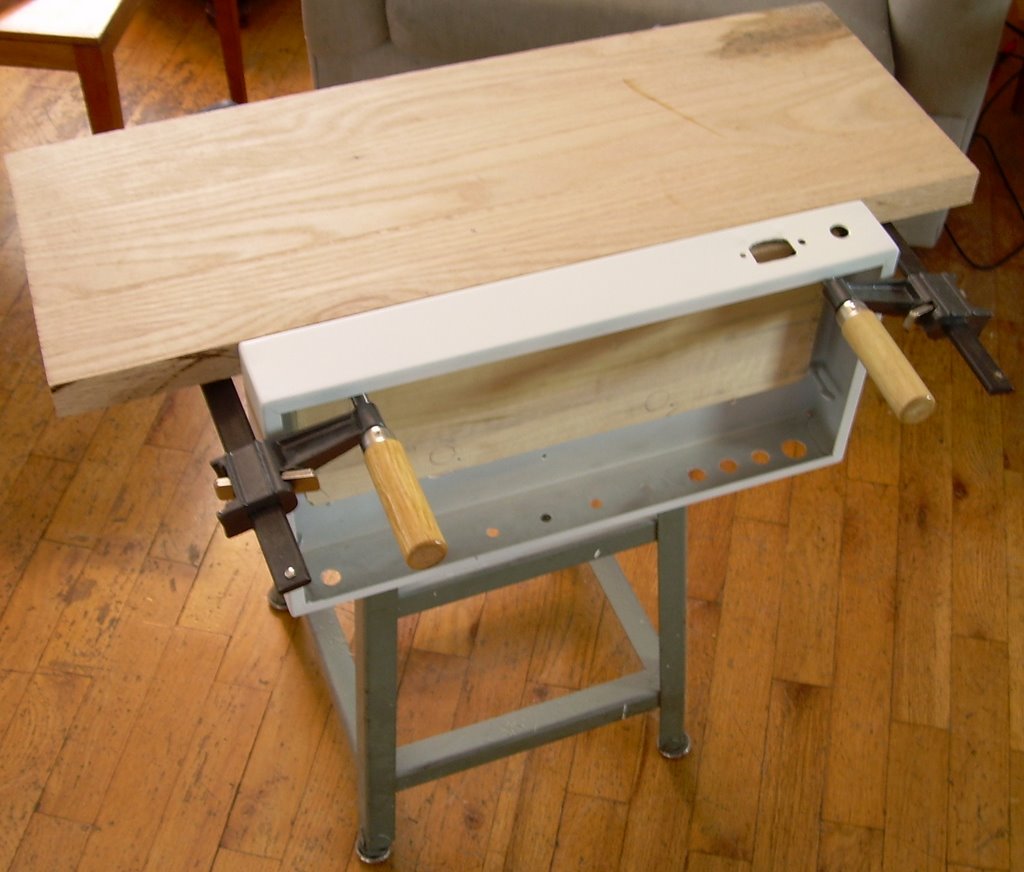
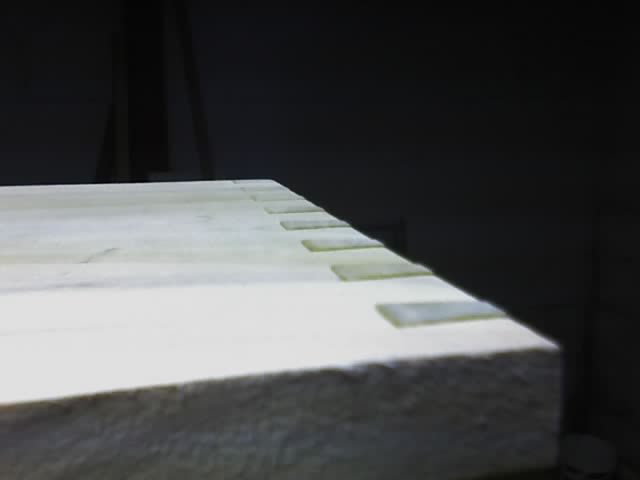
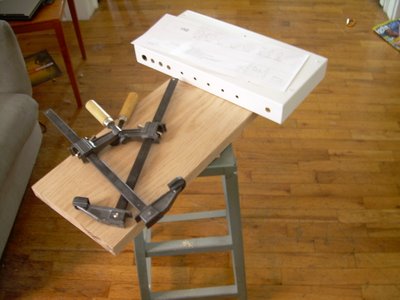
The flat paint is key, if it was too slick (satin, medium glossy), then the pens wouldn't work right on the surface. It feels like a decent polyester film sheet (what you might call Mylar if you worked for DuPont, and you might call it "polyethylene terephthalate polyester film" if you were in my Introduction to Geography class). Here you can see that I am using a stool as a work surface, and a blank of 2" oak to clamp the chassis to. This gives me a little table to work on, so that the lettering system has a stable place to move across.
I will let you in on a little secret, for the whole words and sentences, I am using a
CADLiner 950 autoscriber. This makes things move much faster. However, with 20 years of manual cartographic and cadastral mapping experience, I can do it all with a Leroy set if that was all I had available. Having said this, I
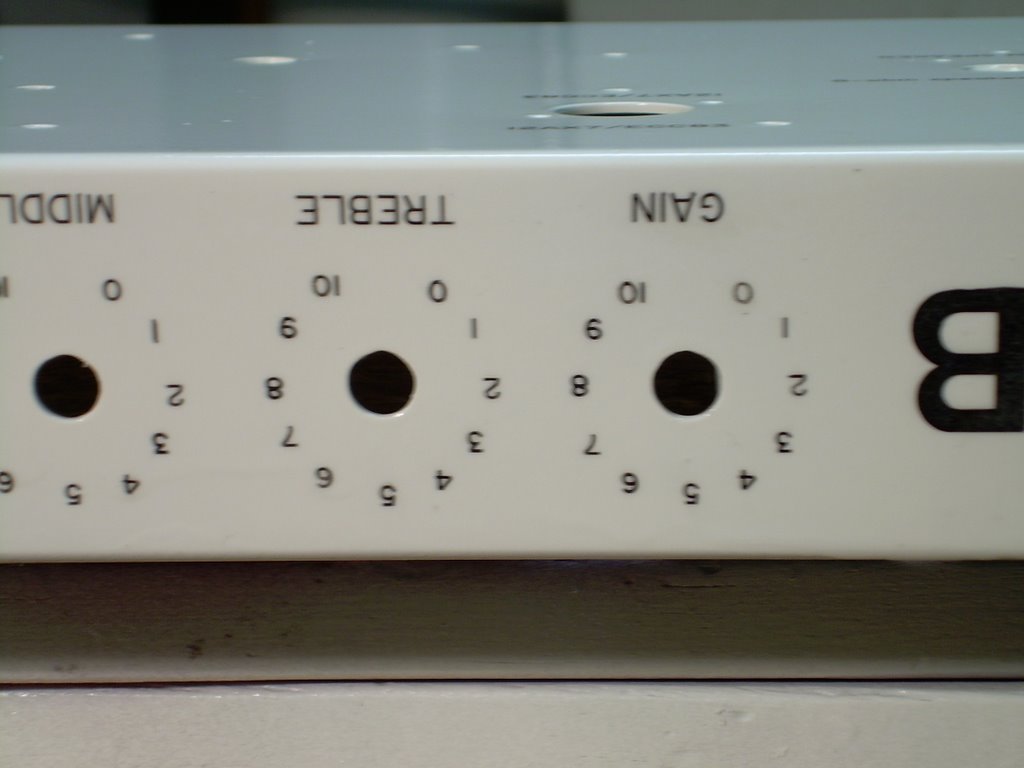
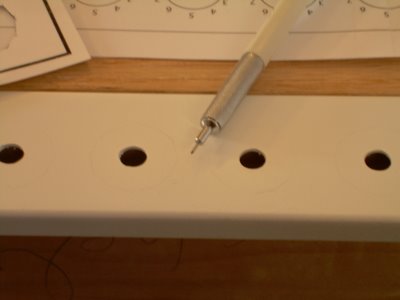
do have to use the manual Leroy set for the numbers on the dial. Basically, the first thing I do is cut a template out of a piece of card-stock. The general shape is a dodecagon, or 12-sided polygon. A potentiometer usually sweeps 300 degrees, so I only use 10 vertices. You can
barely make out the pencil line on the face of the front here. I need to see the thing, but I also have to erase it later.
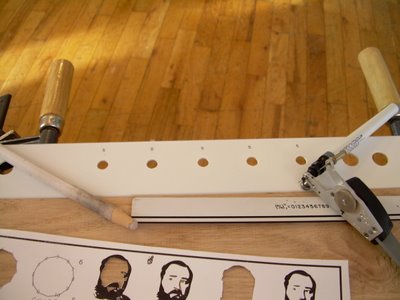
What? Did I really just write erase? Yes, believe it or not, this is the magic of 100% India ink. India ink is a very old technology, but basically it draws
on the surface rather than dyeing or coloring the surface. The black carbon sort of sits on top of the surface, and all you need is a nylon eraser and some spit to remove it. If you have ink laid out, and need to erase pencil marks around it, just go lightly and use no moisture at all. This is a very flexible process, even though drawing ink on top of paint sounds more permanent. (This is why I use lacquer at the end, it has to be sealed in.) In this photo, you can see I am laying out the "fives." From this angle, it just looks like I have mad skills for laying things out. Just remember that there is a polygon drawn lightly in pencil, and I am laying the numbers out on 10 little vertex locations based on a template that I created in Adobe Illustrator. You can probably see that template in the lower left of this photo. Note that I have used this before, you can see how I drew Mr. French on my last build (in 3-4 stages).
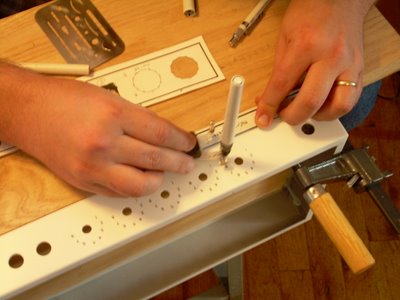
In this photo you can see the eraser under my right wrist, and a mechnical pencil under my left. Also, note the card stock template. The template shows me where to put the intersection of the "four" as it lines up with the vertex of the polygon. They all may be off up to a millimeter or so, but it still comes off as passable. Here I have drawn out almost all of the numbers. It might seem frightening, but I have to go in and erase the little pencil marks around the numbers before I am done. You can never tell that some of these numbers were erased and re-drawn. In fact, with 5 controls, I have 50 numbers to place on those dials - and I probably messed up about 5 of them. As long as I am careful about erasing it, you won't see it was ever "moved."

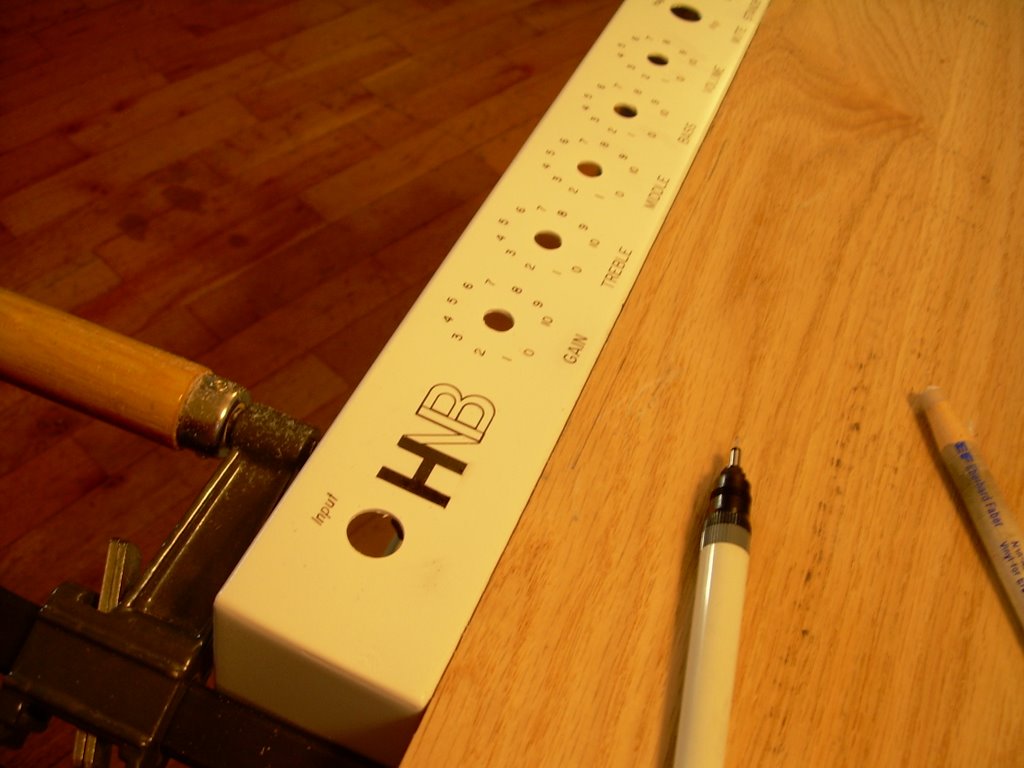
I am almost done with the lettering here. The last thing I did was draw out my father-in-law's initials, just like he signs them. There is a lot of "writing" on this amp, and I even included a
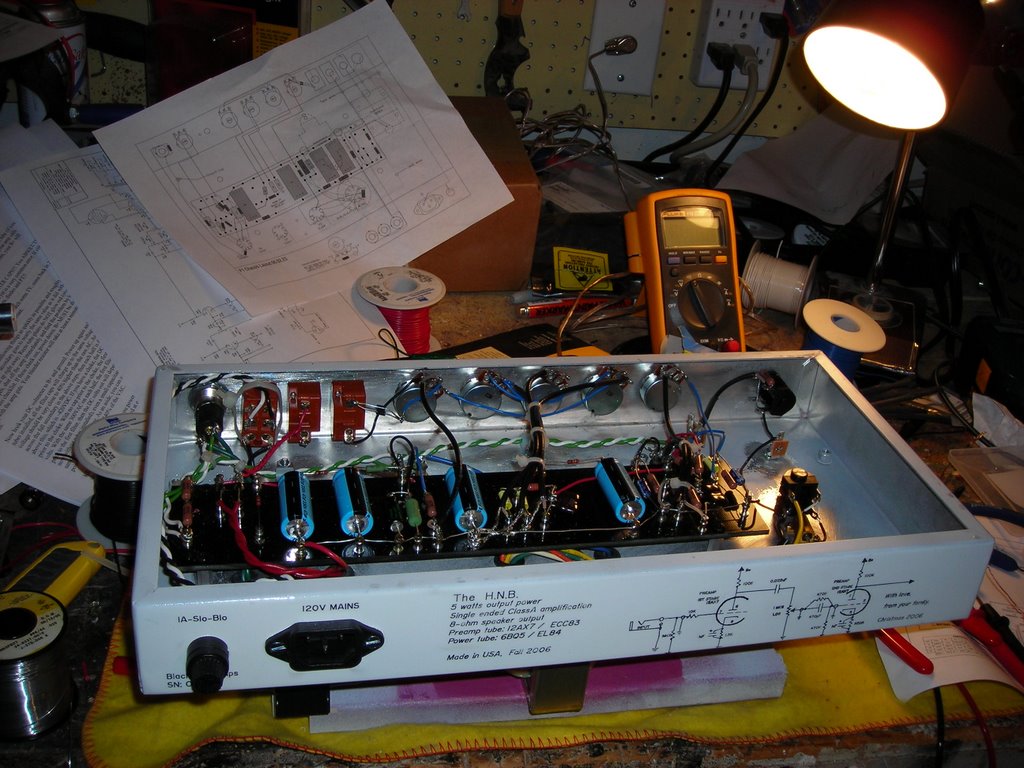
hand-drawn partial schematic on the back (just filling in space). You will probably see that later, I hope that was a good idea. Next comes the scary part. To lock everything in, I have to put a clear-coat of lacquer on the surface. But, I also know that moisture is used to erase the ink off of the surface. The first time I did this, I imagined spending a half-hour drawing ink on the chassis, and then watching it melt right off when I spray-painted the wet lacquer over it.
Luckily, the lacquer seems to have the
opposite effect. Instead of messing up the lettering, it actually
darkens it slightly! If I like the way it looks after applying the ink, then it will look twice as good with the finish coat. I think the lacquer is slightly mixing with the shellac that is found in India ink, and it really brings out the contrast between the white background and black letters.

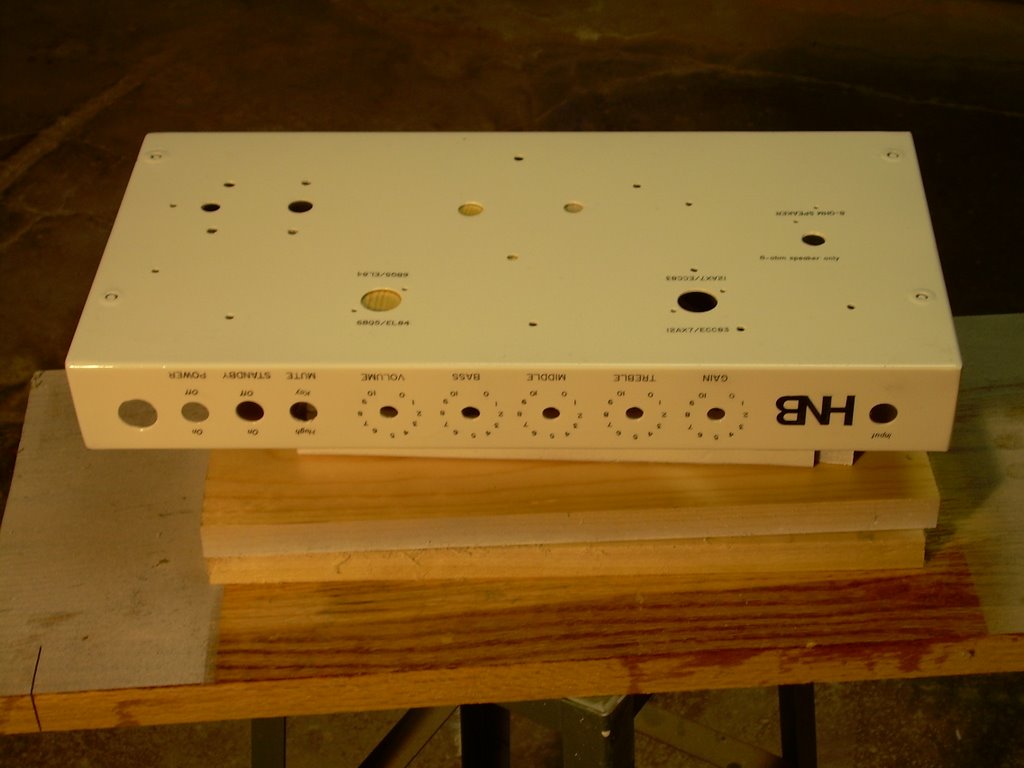
This leaves me with a final product that looks completely original, completely customized, and somewhat professional-ish. The standard "Arial" font that is used in cadastral mapping comes out well for these projects. When I look at it, it just screams to have dimensions, parcel numbers, and acreage calculations on it. One of these days I will create a "Cadastral Mapping" themed amp with north arrows, roads, blocks, lots, etc. That may be a little project that will sit in my office because the next amp I need to build is one that I will play weekly at church. It will not be based on the same schematic as these two, either. I want something like a Fender reverb sound for that.
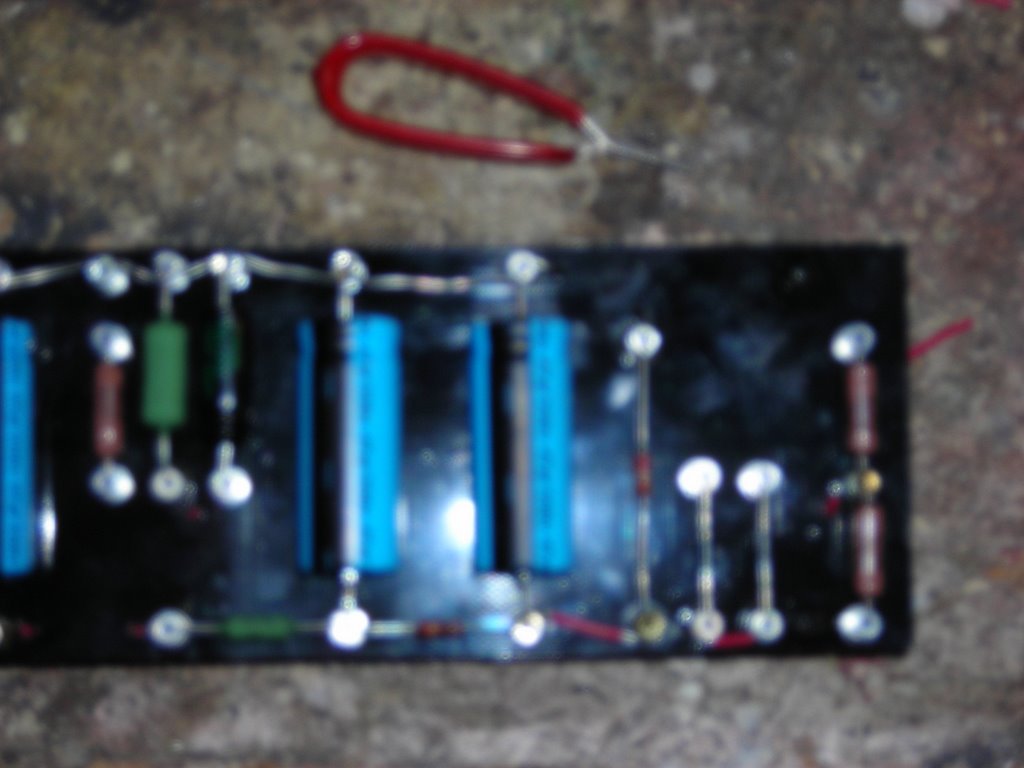
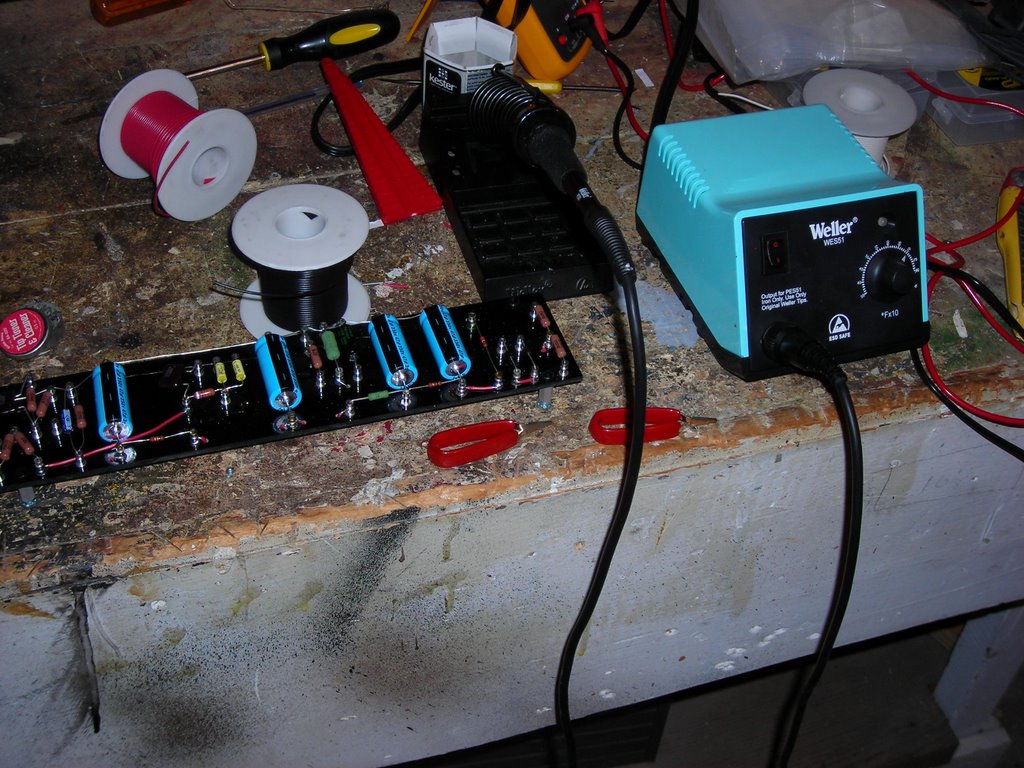
However, I need to finish my father-in-law's Christmas present. The next step is to wire up the turret board. After that, I will mount the components (transformers, tube sockets, input jacks, potentiometers) on the chassis. Then, all that is needed is the final wiring. All will end with testing, trouble-shooting, and sound checks.
--gh
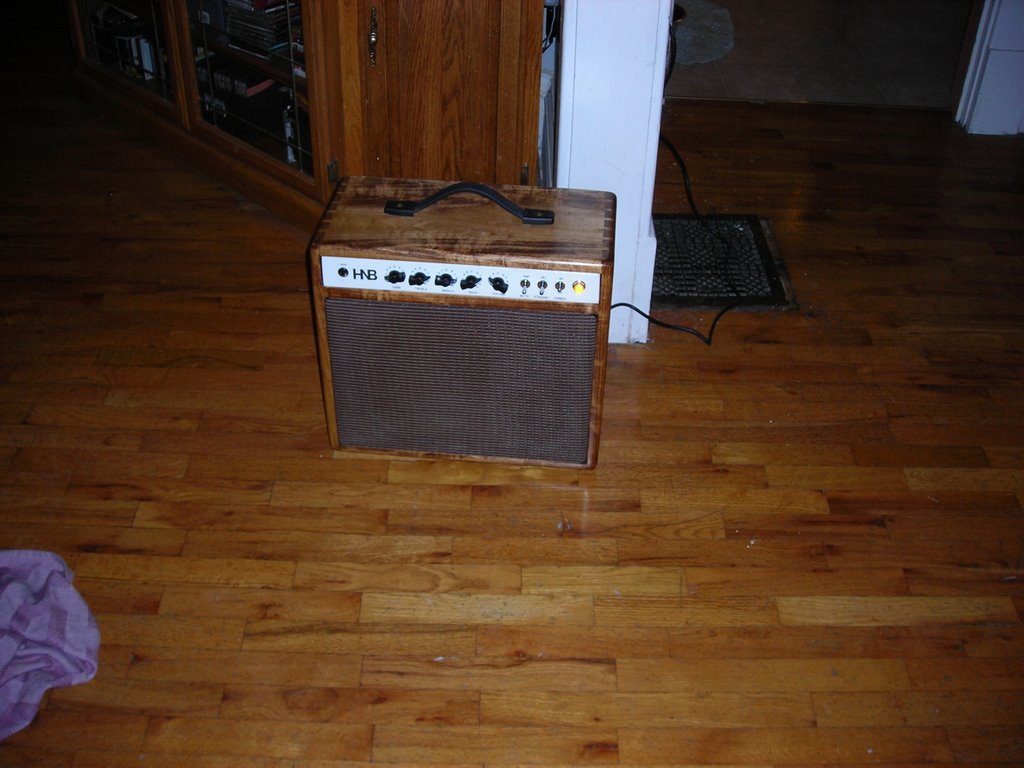
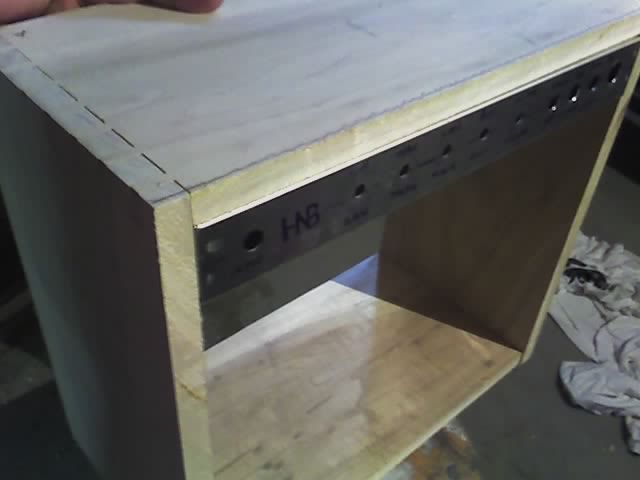
 Finally, I am about 99% done with this build. I still need to protect the corners will metal covers. They will be black. This was a lot of fun to put together because I sourced none of the work out. In contrast, on my first amp the chassis was punched and drilled and the turret board was drilled and loaded with eyelets. Bought as a "kit" meant that all of the components were purchased together. Here, I had to use 3 different online sources.
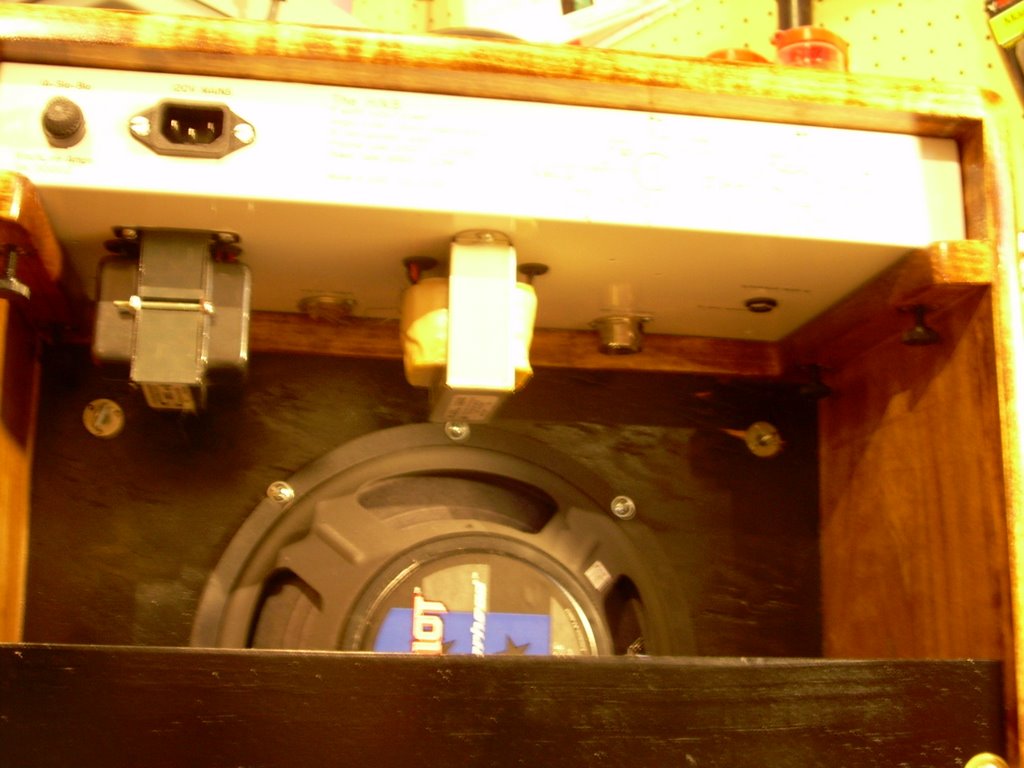
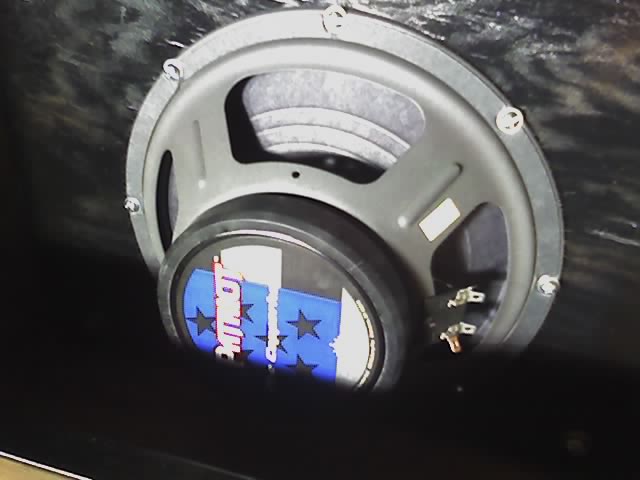
 This works well as an open back cabinet. The speaker is an Eminence Copperhead which has a very clear sound and is very efficient (99db sensitivity, I think). For one speaker, this little 10" really cranks. Considering the amp is only 5 watts, it amazes me how loud this thing gets. It is too loud for home use if you crank it up all the way. If I lived in an apartment, the neighbors would be complaining.
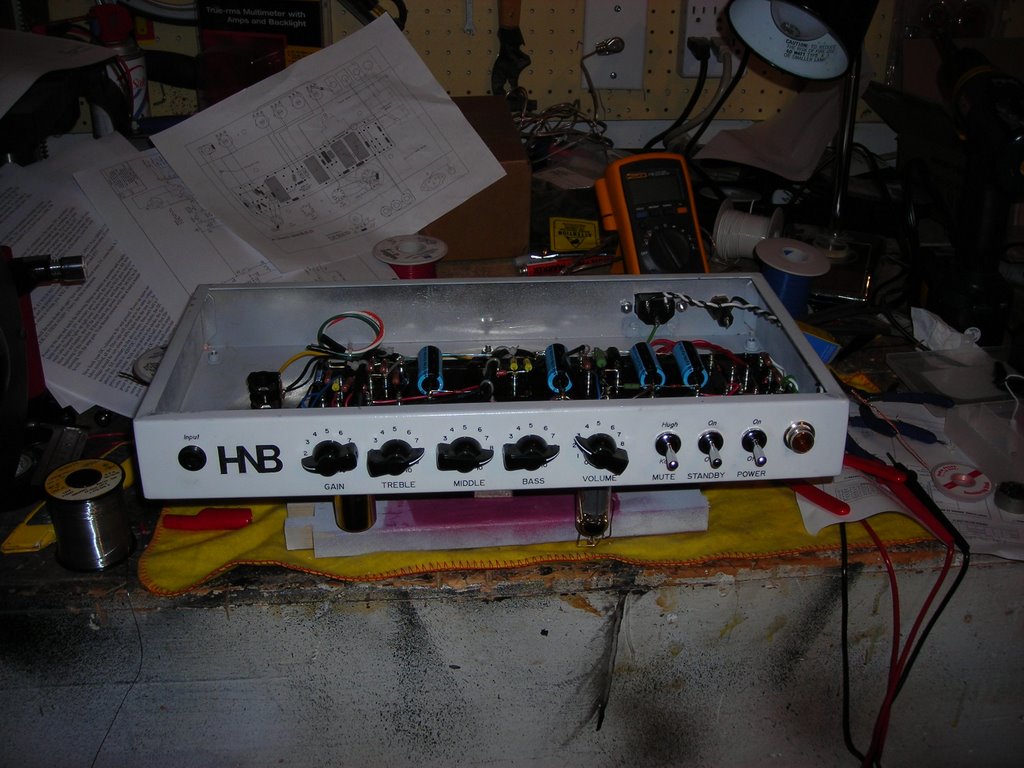
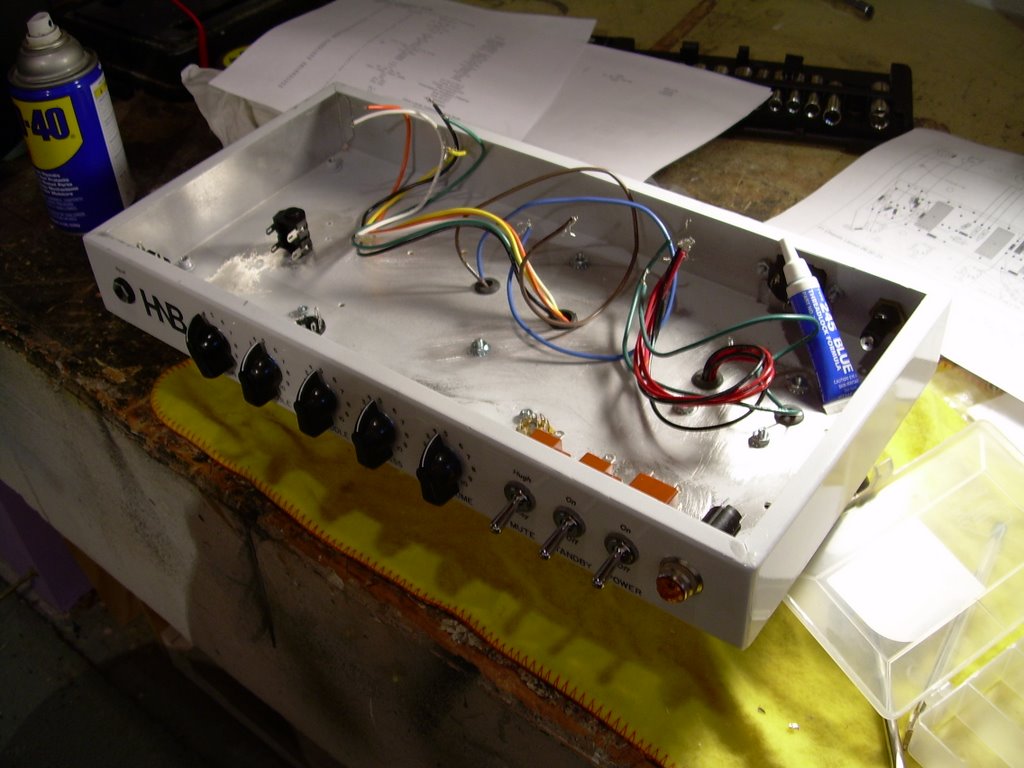
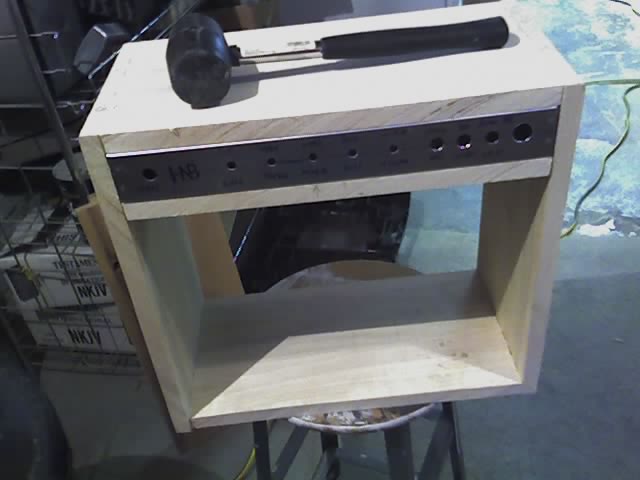
 The light on my first amp is a bluish purple. I got to choose this one, so I came up with a goldish yellowy brown color. The first time that little lamp glows is a major victory. It glows when you turn on the power switch. The next switch is standby, which heats the tubes but gives no power (B+) to the rest of the circuit. The last switch is called "MUTE" but it really just makes the high gain setting work at lower volumes. Maybe I should have labeled that something different. At least it wasn't a mispelling!
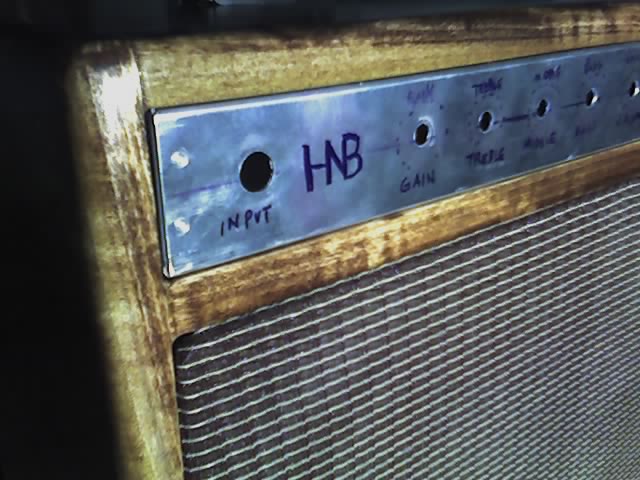
 The heavy inked area for the name of this amp looks cracked from a certain angle. Straight on it seems fine, though. There are minor imperfections all over this build - in the wood work, the lettering, and of course the finish (I am heavy handed at spray paint and lacquer). However, it is 100% my own work, and sounds absolutely amazing. Family members have sent checks to offset my costs, do this will be a family gift to my father-in-law.
 The tone controls are actually very responsive. The thing really sings if you leave them full on, but turning down the treble, mids, and bass help balance the sound for the different guitar setup. My favorite clean sound is with the GAIN setting on 3, and the master VOLUME on 6-7. With my Les Paul, I can get some nice jazz like sounds. I would love to hear a real archtop through it, though. Because it is a low-power amp, you can get some great distortion at a sound pressure that doesn't split your ears. I don't think I ever need to go above 20-30 watts in this lifetime. (In case this stuff is new to you, a 50watt amp would be twice as loud as a 5watt amp.)