 With all of the cabinetry cut and assembled, it is now time to apply the glue. You may see a little blue painting tape hanging off the edge - I put that on to collect the excess glue, because removing it after it dries can be difficult in inside corners. I use a bunch of clamps while the Elmer's glue (carpentry glue) is drying. Elmer's works just fine, no need for weird and fancy polyurethane foamy glues (very messy). I have to trust that the joints (dovetail, dado, and mortise&tenon) will hold with the glue only.
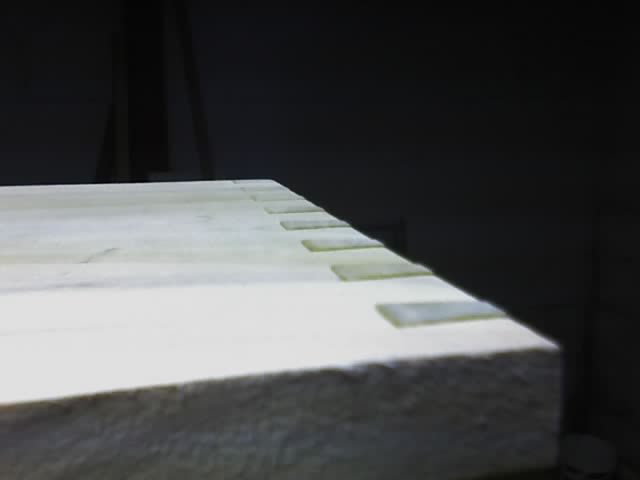 With the dovetail joint making router template that I have, a little bit of sanding is needed to knock down the edge. This is fine, because the end result looks very tight. If there is a gap, I will fill it with some wood filler - but very little of this is needed. The Keller dovetail system is a good solution. Also, I will round over the edges fully, making it look pretty amazing, actually.
 I cannot remember the name of the stain, but my son picked it out. My first amp was light in color, and he wanted to see something darker. I think it is called "early american" from MinWax, possibly. I only applied one coat of stain, because the poplar was sucking it up pretty well. Oh, I also use some wood conditioner (MinWax) as well, because it makes it more even reception of this stain. This is important for the end of the grain which is seen in the dovetails. A little light-dark-light is okay, but I don't want too much contrast.
 Okay, see how the speaker grille cloth really tightens up the look! This is the first time I have dealt with this material. It is acoustic grille cloth, and is meant to protect the speaker, hide the front, and permit sound to pass through. Looks dang tight is what I say.
 I put a board across the bottom of the back to keep a foot from kicking out the back of the speaker. You may be tempted to say I am breaking my rule about not using fasteners, because there are two obvious screws holding this in. However, this needs to be removable, in case the speaker needs replacing or something. Yes, it probably makes the cabinet a little stronger, but it would have been fine without it. Technically, if you remove it to take out the speaker, then I am confident that the amp won't fall apart.
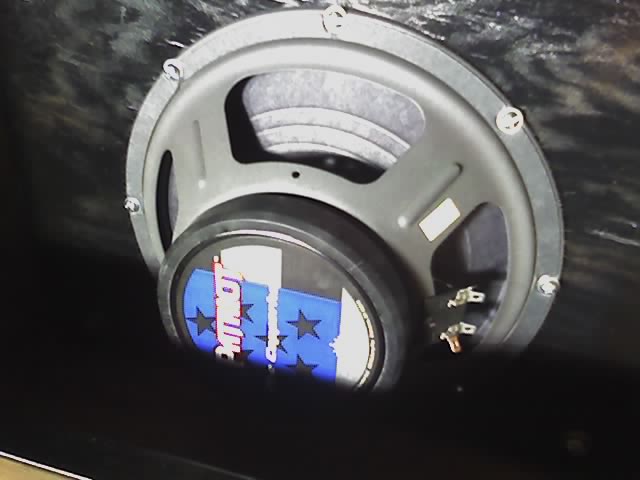 The speakers are mounted from the back. The baffle has t-nuts on the front, and the screws go right through and mount this. This means that you don't have to take the grille off the front to mess with the speaker. Of course, we hope that this never needs to be messed with anyhow - but I want this to be as close to a professional job as possible.
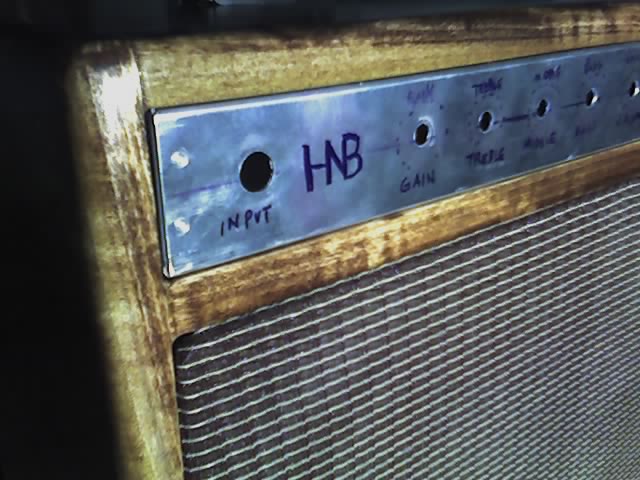 Here you can see how the dovetail joint looks rounded over. This is with two coats of clear polyurethane finish, so it is nice and shiny. I must have pushed that chassis in and out of the cabinet one hundred times during this build, because it was going to be a nice and tight fit. Here I can see that it will all pay off. I put rubber feet on the bottom, mounted the speaker, and put a handle on the top. I am very tempted to put metal corner protectors on this. I have some, but they will need modification. Of course, it looks awesome without it. But, the corners are the most vulnerable with this cabinet, and it is meant to be portable. Because I rounded the edges, there are some parts of the dovetail that are a 1/4" which might just pop right off (?) if it is struck to hard against a door, or car, or whatever.
So, now I need to get back to the electronics of this thing. There are a few more holes to drill in the chassis, and then it needs to be painted (and designed!). Then, there is the soldering, then testing.
--gh
No comments:
Post a Comment