Here is a picture of what the amp chassis looks like:
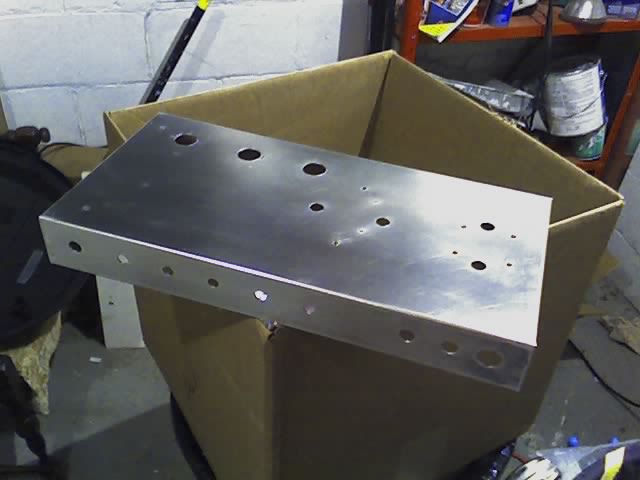
In case you are wondering, I paid an amp parts service to punch and drill the chassis. If this one works out well, then my next tool will be a drill press and I will do that on my own.
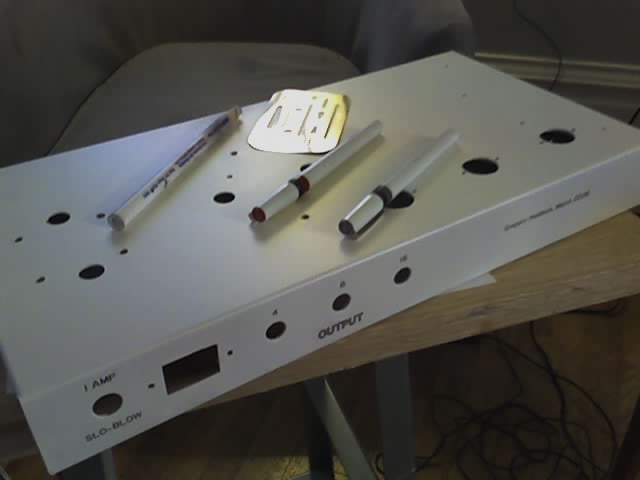
I did settle on calling this first amp build "Mr. French," which comes from the 60s TV show Family Affair. Here you can see that I simplified a layout template and cut out critical areas with an X-acto knife.

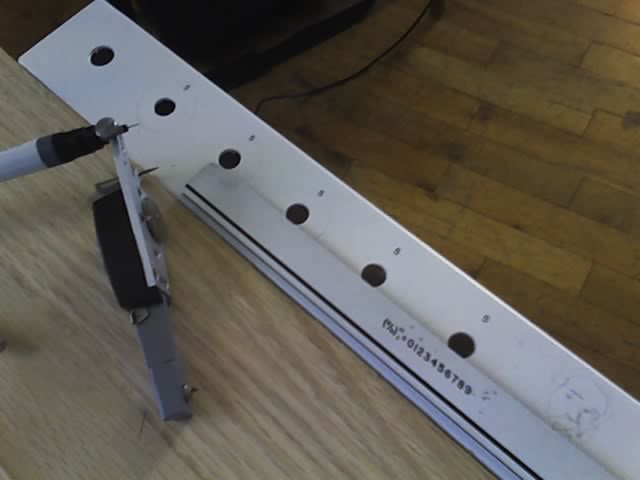
Some of my Geo-Tech students may recognize how I will layout the front plate. Instead of Mylar, I will draft directly onto the front of the chassis. I had a huge block of oak leftover from a previous project, and I just clamped the chassis on at the same level. (Sorry for the picture quality. My motorola phone only has VGA-quality pictures, and no flash. Some day I will get a digital camera.)

I really took a chance that this would work. I primed the chassis, and then painted it with a flat white. My hope was that I could draw with rapidograph pens directly onto the chassis with India ink. This is water soluble, so I can have a little play while I am working on it. Water soluble means that once the water leaves, there is nothing but dry ink (with a healthy dose of clay in India ink), which means that I should be able to clearcoat it afterwards. Here is the beginning of the layout. Check out the Leroy lettering system!
This is starting to look like I know what I am doing. Here is the back of the amp. It is very critical to have the speaker output labeled, so I wasn't just being fancy here. If you don't plug a speaker into a tube amp like this, you will fry your output transformer, and probably the tube as well. Mismatching impedances could be just about as bad. (For a visual image, imagine placing your screw driver right across the car battery - the battery wants a load and does not want to just short out to nothing like that.)
I am finished with the faceplate layout. I am impressed with how this will work (assuming the clearcoat doesn't mess things up). A lot of amp builders struggle with the face plate - sometimes paying $50 for someone to laser cut a decent design. This won't look as nice as that, but it only cost time (about an hour) and about three cents of ink.
Faceplate:

Mr. French closeup:

Input (blacklinefish name) closeup:
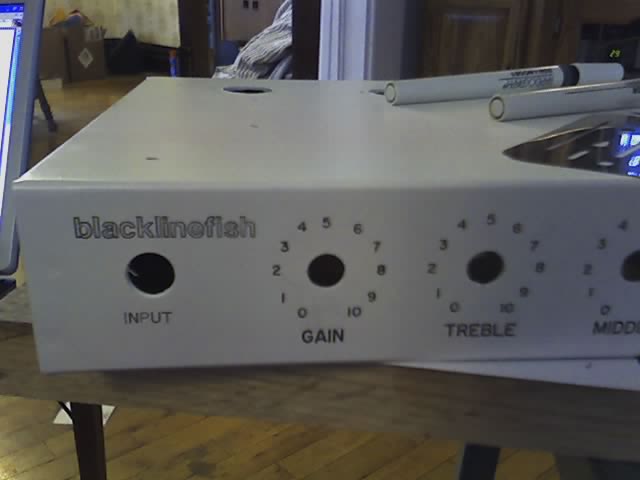
Issues - you may notice that the layout of the numbers is not perfect. I also hope that they are centered okay when the knobs are installed. Also, the "t" in the phrase 'The Gentleman's Gentleman" is darker - that was me trying to touch up something I already lettered by hand. It usually doesn't work so I wish I had left it alone.
I wrote "STANDBY" above the switch because the words for "MR. FRENCH" got in the way! Also, the reason I wrote "POWER-off" like that is because I only wanted to use the word "POWER" but I got lazy with the layout and it was no centered well under the hole for the switch. I did not feel like erasing the word because that would have taken 45 seconds or something. So, it permanently has this distinctive layout. (The hole on the farthest right is a lamp, in case you are wondering why it is not labeled.)
--gh
P.S. Here's the funniest thing so far. All those years of manual cartography and cadastral mapping really paid off with making this look more than amateur. But I haven't spent too much time with a can of spray paint. (No, I did not spend my youth tagging.) So, the clearcoat went on really nice, and all of the lettering really darkened up nicely. However, I was a little heavy on the first coat, and it may be a little drippy looking. Still, I think it will work out fine.
3 comments:
Wow. That is beautiful. So will you name all feature models after mediocre television characters, as well? If I ever get an electric guitar, I might commission you to build the George Jefferson.
-m
you nailed it!
Looks great...
Twang
Thanks, Louis! My next will be a combo (but maybe smaller than yours, which looks great as well).
--gh
Post a Comment